No-Bake Lemon Cheesecake Bars

Chances are high that if I’m not having chocolate after dinner, I’m eating a lemon-flavored dessert. I take after my grandmother in this way (she always requested lemon cake for her birthdays). It’s been too hot to turn on the oven lately, so no-bake desserts have been coming in clutch when the red grapes I stash in my freezer aren’t going to cut it. Sometimes you need a “real” dessert, you know?
I love that this lemon cheesecake bar recipe takes 15 minutes to assemble, and then from there you can just let it do its thing in the freezer until the filling hardens. I use my food processor to make the crust, which is a really simple mix of rolled oats (use gluten-free if needed), walnuts, and a couple glugs of pure maple syrup and coconut oil. This crust has definite granola bar vibes, which is a very good thing in my book.
For the filling, you’ll need a high-speed blender, soaked raw cashews (2-4 hours of soaking is ideal, or you can use this handy short-cut: soak for 10 minutes in hot water; no one will know the difference), full-fat coconut milk, maple syrup, lots of lemon juice and zest, a little coconut oil, and vanilla. Once blended, it will almost taste like lemon curd, so no judgement if you grab a spoon and enjoy some right then and there.

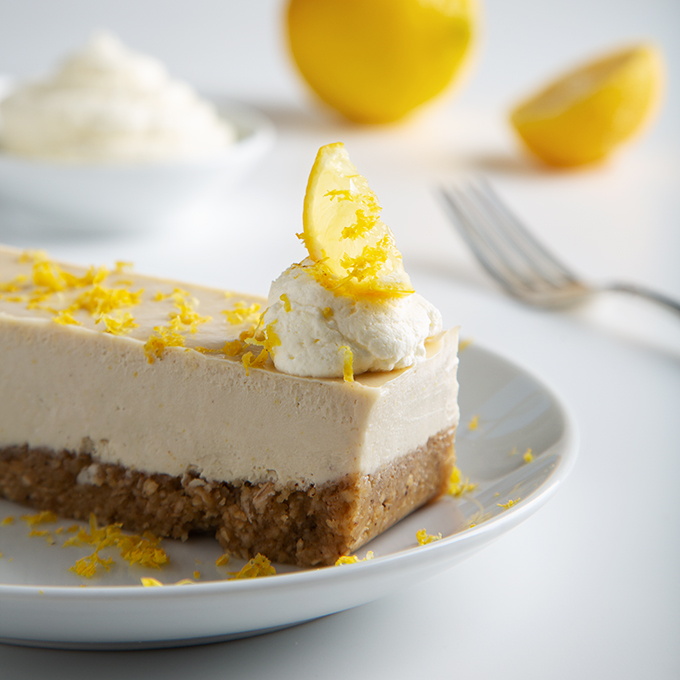
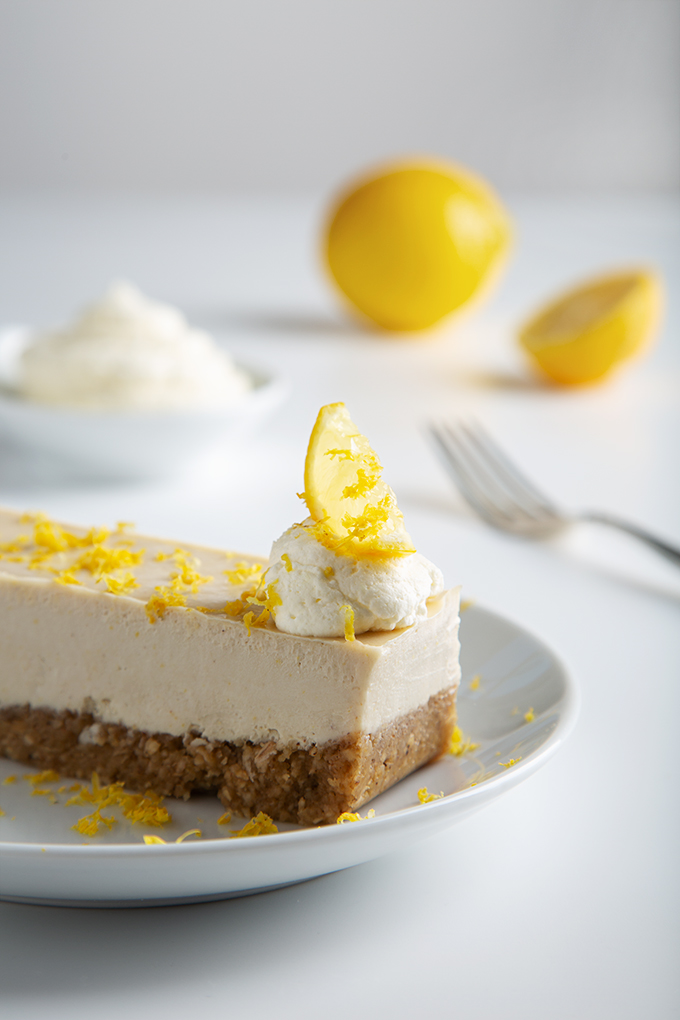
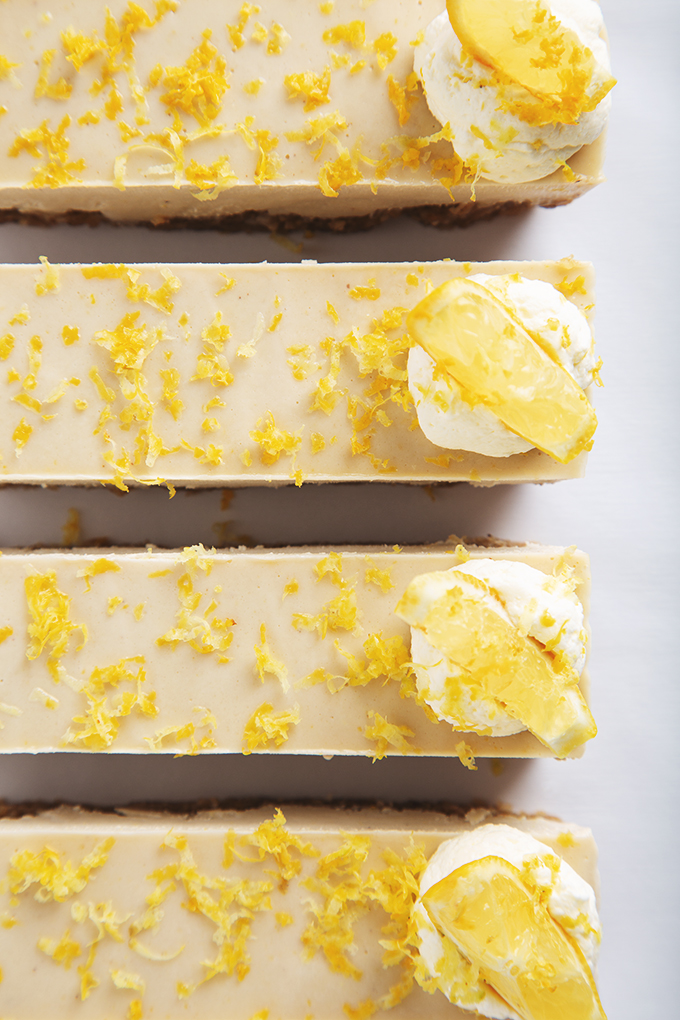
After the filling has frozen, slice into bars and top with coconut whip, lemon slices, and more lemon zest, if you’d like. The texture is best if you let the bars soften at room temperature for 10-15 minutes before digging in.

No-Bake Lemon Cheesecake Bars

No-Bake Lemon Cheesecake Bars
Serves: 8 bars (or 16 mini bars)
Prep Time: 4 hours 15 minutes
These no-bake vegan lemon cheesecake bars use real food ingredients and are naturally sweetened, yet still taste over-the-top decadent. Just 15 minutes of active prep!
Cuisine: Gluten Free, Vegan Servings: 8 bars (or 16 mini bars)
Prep Time: 4 hours 15 minutes
These no-bake vegan lemon cheesecake bars use real food ingredients and are naturally sweetened, yet still taste over-the-top decadent. Just 15 minutes of active prep!
Instructions
- Lightly grease a 9 x 5-inch loaf pan and line it with parchment paper. Set aside.
- Make the crust: In a food processor fitted with an S blade, blend the walnuts and rolled oats into a very fine meal. With the processor running, pour in the maple syrup and coconut oil and blend until just combined (about 10 seconds). Transfer the mixture into the prepared pan and firmly press it until it's completely compacted.
- Make the filling: Add all of the filling ingredients to a high-speed blender. Process for 1-3 minutes, or until the texture is very smooth. Pour the filling evenly over the crust. Freeze until firm (about 4 hours).
- Assemble the cheesecake bars: Remove the cheesecake from the pan and place it onto a cutting board. (If the parchment paper won't release from the pan, let the pan sit on the counter for 2-3 minutes to warm up slightly, then try again.) Use a sharp knife to slice the cheesecake into bars, then transfer the bars to a serving plate.For best and creamiest cheesecake texture, allow the frozen bars to soften slightly (about 10-15 minutes) before serving.
- Optional: top with coconut whipped cream, lemon slices and zest, and enjoy!
Notes [4]
To make this recipe gluten-free, be sure to use certified gluten-free rolled oats for the crust.
Leftover bars should be stored in the freezer.
*To make homemade coconut whipped cream, you’ll need:
1 (14 ounce) can full-fat coconut milk, refrigerated for 24 hours
2 tablespoons organic powdered sugar
Open the can of coconut milk and scoop out the top layer of solid coconut cream into the bowl of a stand mixer. (side note: save the remaining coconut liquid for smoothies!) Mix the coconut cream and powdered sugar on low speed until combined, then crank it up to high speed for 1 more minute until light and fluffy.
Leftover coconut whipped cream can be stored in a container in the fridge for 5-7 days. The whipped cream will harden when cold, so mix it on high speed until it’s light and airy again before using.
When making your own coconut whipped cream, use a full-fat, canned coconut milk. Be sure to stay away from coconut milks with stabilizers and gums because the cream won’t separate from the liquid even when refrigerated. The Aroy-D brand tends to produce reliably good results. I sometimes have success with Whole Foods 365 brand, but I find their product to be inconsistent.
Recipe adapted from my Vegan Snickers Cheesecake Bars.
Copyright © 2023 Amanda Maguire for Pickles & Honey
