How to Make Kombucha
As far as how to make kombucha at home, you’ll need to start with a quality kombucha SCOBY. I recommend purchasing a Brew Now Kit from Hannah at Kombucha Kamp, rather than growing your own from scratch (which I tried previously). The kit is great for beginners because it takes out a lot of the guesswork, and it also comes with enough kombucha starter liquid to make your first batch.
Here are a few of the reported health benefits of kombucha (according to the Kombucha Kamp website):
- Kombucha contains probiotics (healthy bacteria) that can help improve digestion
- It alkalizes the body to help balance ph
- Kombucha can help increase energy
- It’s high in antioxidants that can help destroy cancer-causing free-radicals
Please note that this information is for educational purposes only. It’s not intended to replace the advice or attention of health-care professionals.
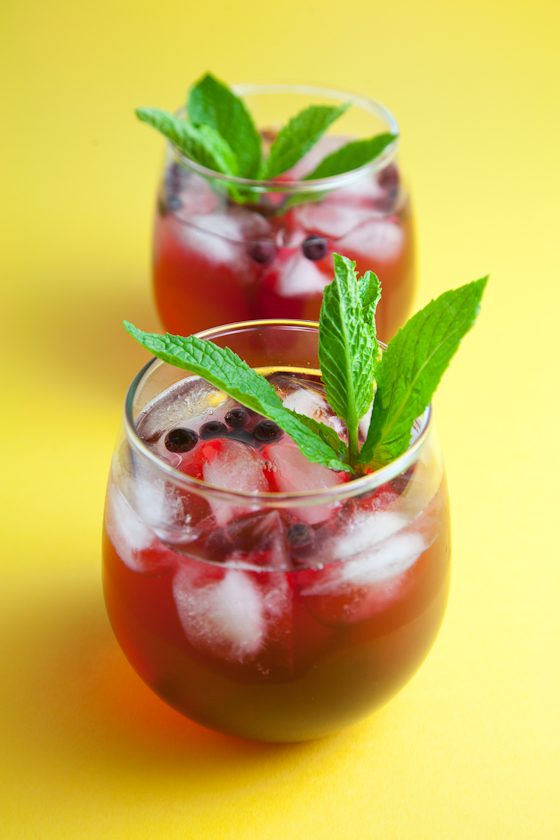
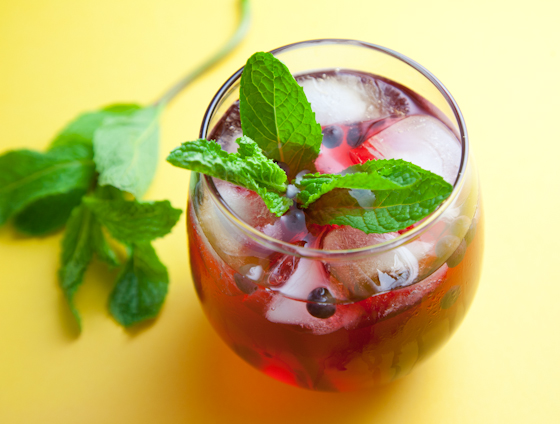
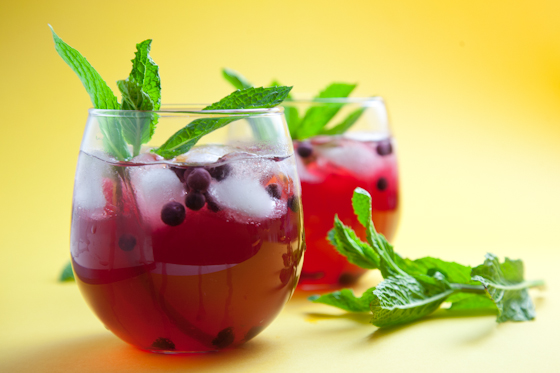
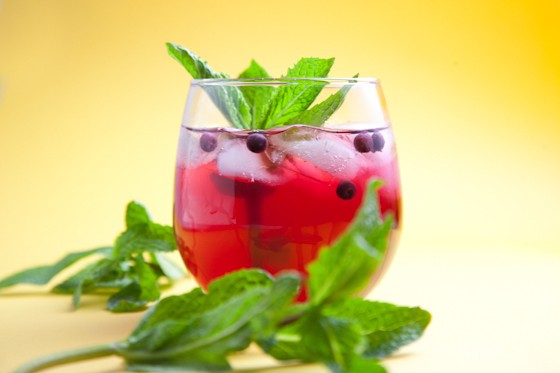
Health benefits aside, I also happen to like the slightly acidic, apple-cider-vinegar-like flavor. There’s something addictive about it. And in addition to saving nearly $4 every time a kombucha craving strikes, one of the great parts of making your own kombucha is that you can play around with the sweetness and also the flavors (for example, a longer fermentation period will yield a less sweet, more acidic kombucha). I went with a blueberry kombucha this time, adding in just a couple of tablespoons of frozen berries before I bottled it. I also really like strawberry and mango, and I’m looking forward to making a ginger version soon.

The fruit creates this awesome natural carbonation, making the kombucha extra fizzy and fun to sip. And if you’re worried about the strands of yeast (you’ll often see them at the bottom of the liquid), it’s really easy to strain those out, rinse them down the drain, and pretend they never existed. I also like to pretend the SCOBY never existed.
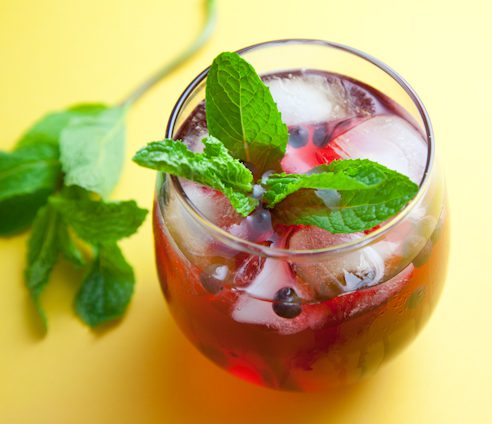
Garnish your kombucha with a few mint leaves for a pretty, non-alcoholic, and good-for-you beverage. Or add a shot of tequila, vodka, whatever. Sometimes, that can be good for your soul.
How to Make Kombucha
How to Make Kombucha
Serves: 12 cups
Prep Time: 10 - 15 days
A simple step-by-step guide for how to make kombucha at home. This kombucha recipe is easy, promise!
Cuisine: Gluten Free, Vegan Servings: 12 cups
Prep Time: 10 - 15 days
A simple step-by-step guide for how to make kombucha at home. This kombucha recipe is easy, promise!
Instructions
- In a large pot, bring 12 cups of water to a boil. Add 1 cup of sugar to the boiling water and stir to dissolve. Turn off the stove and add 5 bags of organic green or black tea (or 5 tablespoons of loose leaf tea). I used green tea. Cover the pot to prevent the mixture from evaporating and allow it to come to room temperature. This will take some time, but it’s important that the mixture has cooled before moving on to the next step or you’ll kill all that good bacteria in the kombucha liquid.
- Once the water/sugar/tea mixture has cooled to room temperature, remove the tea bags and pour the mixture into a large glass jar (I used a 1 gallon biscotti jar). Using clean hands, add the kombucha scoby to the tea mixture, followed by 2 cups of the reserved kombucha. It's okay if the scoby sinks to the bottom of the jar. Cover the top of the jar with a clean dish towel or 2 layers of paper towels and secure it with a rubber band. This will keep fruit flies and other bugs out, while still allowing air to circulate. Place the jar in a warm, dark spot (I chose the top, back shelf in my pantry) where it won’t be disturbed, and allow it to to sit for about 7 days before taking a peek. You should see a thin, cloudy-looking film growing over the top of the mixture – this is a new baby scoby!
- After 7 days, insert a straw below the baby scoby and taste the kombucha. You'll know it's ready to bottle when it has an apple cider vinegar taste and isn't overly sweet. If the kombucha still tastes sugary, allow the mixture to ferment for 3-7 more days, tasting every so often until it meets your taste preferences.
- Once the kombucha is ready, prepare your glass jars. You can add a small amount of fresh or frozen fruit (for example, a tablespoon or two of blueberries, strawberries, ginger, whatever you like) to the empty jars. Pour the kombucha into the jars, straining out the yeast strands if you like. Fill the jars to the very top and make sure to use plastic lids (metal can erode). The less air in the jar, the more natural carbonation will take place and the more fizzy your finished product will taste. Fruit will also create carbonation. Allow the bottled kombucha to ferment for 1-3 more days in a warm, dark spot, making sure to "burp" the jars every day or so to release any pressure. This is important, as the jars can explode if carbonation builds up!
- After the 2nd fermentation, move the bottled kombucha to the fridge to prevent further fermentation. Enjoy (and repeat this process for your next batch)!
Notes [5]
If you ordered a SCOBY, it should come packed in enough starter liquid to brew your first batch. Use all of that liquid. It may be less than 2 cups if it’s strong starter liquid (and that’s totally fine).
I use and recommend these bottles for kombucha. They have rubber stoppers at the top that create extra fizzy kombucha. Mason jars with screw-on plastic lids will also work (don’t use metal lids because they will react with the kombucha), but a lot of the carbonation escapes and it’s much less fizzy.
If at any point during the process you notice green mold forming in the mixture, toss it and start over. This can happen when the liquid isn’t acidic enough, which is why it’s so important to add enough starter liquid.
The time it takes for the kombucha to ferment is very much dependent on environmental factors and it’s not an exact science. If you find, for example, that the kombucha tastes acidic enough at 6 days instead of 7, go ahead and move on to the bottling process. I live in Boston and personally find that 10 days is about how long it takes to get the right flavor.
Each time you brew kombucha, a new scoby will grow on top. It’s a good idea to save a few as back-ups in case something happens to your original scoby. To do this, simply add your leftover scoby to a glass jar, cover it with finished kombucha liquid, and close the jar using a lid (not a towel) to prevent the kombucha liquid from evaporating (a metal lid is okay as long as the liquid isn’t touching the lid). Store the jar in a warm, dark place.
Copyright © 2023 Amanda Maguire for Pickles & Honey
